
I've been asked a few times how I make my blog buttons. It's a little hard to explain, so I'm going to show you through pictures! If you have any questions, feel free to comment below!
And yes, this is a test button and not for an actual blog.
Step 1:
Go to Picmonkey.com and upload any normal-size picture.

Step 2:
Go to the left sidebar and click on the "Overlays" icon. It looks like a speech bubble, a heart, and a star thingy.
Then click on geometric, then the black square or rectangle.
A little window will pop up (its on the right of my photo). Change the color to white, or whatever color you are wanting your button to be. Remember, you can't change the color after this. I prefer to keep it white, or a pastel, so I can add darker fonts and such.

Step 3:
Take the edge of your square and drag it, making the square cover the entire photo. Don't worry about going over the edge, because it doesn't matter. Just cover it.
Right above your photo is a toolbar. Click on the one that is shown in the picture. It has two flat layers and an arrow pointing down.
This button will merge the white layer and your photo together.

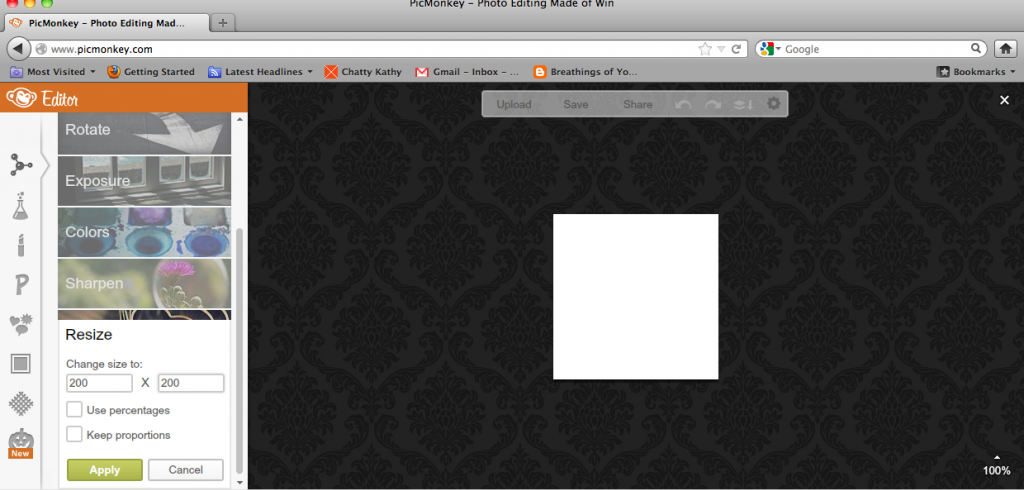
Step 4:
Go to the left sidebar, and click on the very first icon. Scroll down, then click resize.
Uncheck "Keep Preportions".
Then type 200 in each box. (look at the picture)
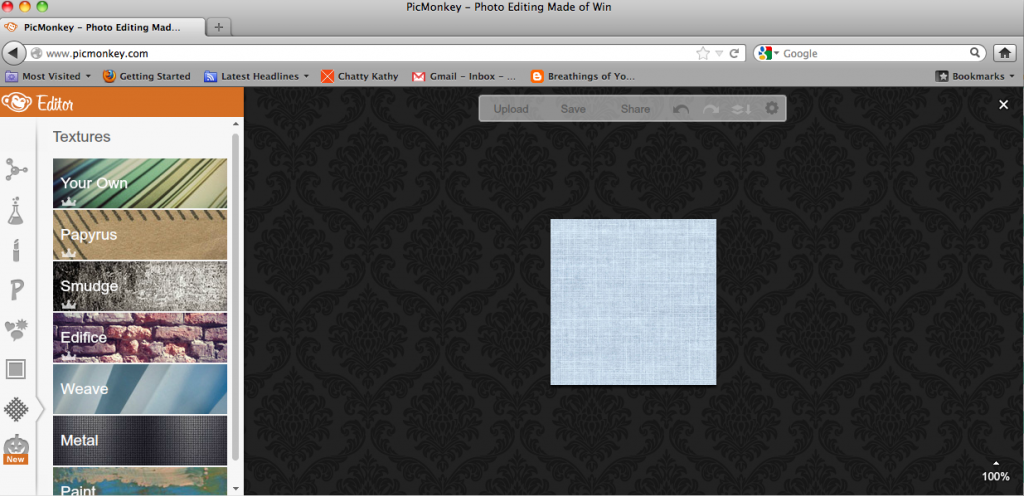
Step 5:
Now, I usually don't do this part with my buttons. But with this particular one, I thought it would work well.
Go to the left sidebar and click on the little icon right above them pumpkin one. These are textures, or background type things you can use. I don't usually find one that goes with the button I'm making, but in this case I did.
I needed something that looked like fabric, and they had it under "Weave" I think.
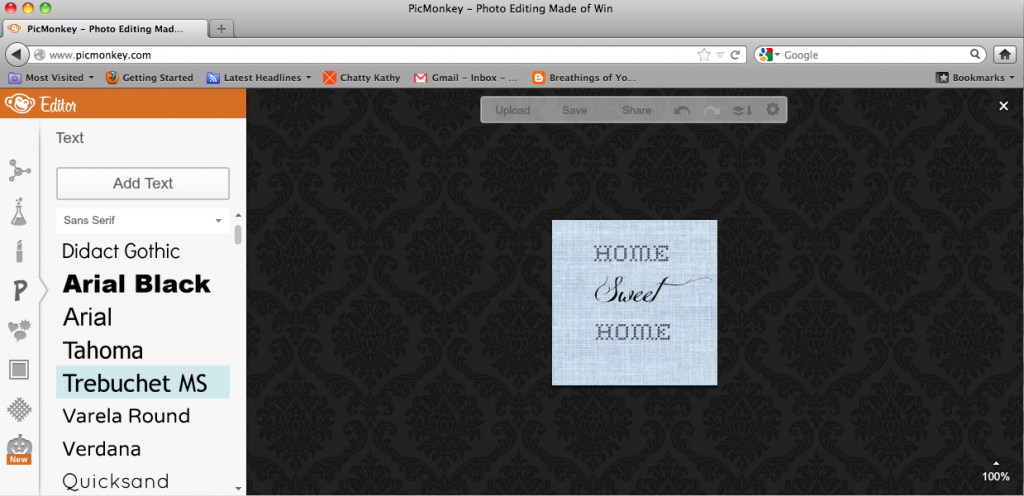
Step 6:
Time for your blog name!
Go to the left sidebar and click on the "P". They give you tons of fonts to choose from. Try to pick a font that matches your blog title font. Look carefully, the very same one might be in there!
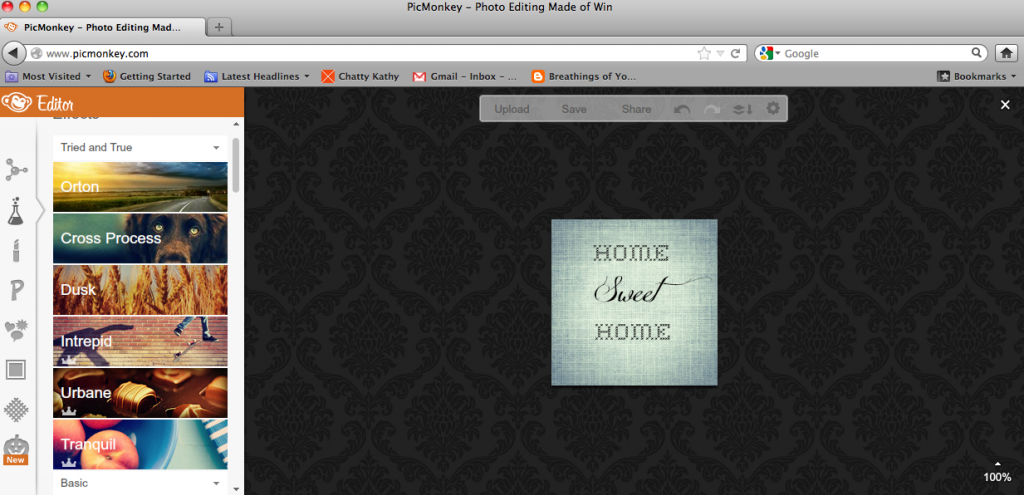
Step 7:
I don't usually do this either... LOL! But I thought it would look nice on this particular button.
Go to the left sidebar and click on the second icon. Experiment with all the cool edit tools, and see if you find anything you like!
Then you can go to the the sixth icon on the sidebar, and that has all sorts of borders. I usually use a simple border, nothing fancy. Change the color to match your font or something on your button (mine is just black so I will make the border black too).
And walah! Done! See how easy that is? If you have any questions, just comment below.

Later,
Kathryn (aka Chatty Kathy)


9 chatty people:
You're so good at that! Very cute blog button. Thanks for the tutorial! :D
<3 Elizabeth
thank you so much:):):) ok so I have one question, how do you make a code for it?
What I like to do which is a bit easier, is upload a completely white background [just google "white background" and go to images.]. That way it's already white and ready to work with, and saves some trouble. :)
Love the fonts you used for the button! :)
That button is adorable!
@Brittany
This is the code:
[center][a href="http://YOUR WEB ADDRESS/" target="_blank" title="BLOG TITLE"][img alt="BLOG TITLE" src="http://IMAGE WEB ADDRESS"/][/a][center]
[/center]
[center][textarea id="code-source" rows="3" name="code-source"][center][a href="http://YOUR WEB ADDRESS/"][img border="0" src="http://IMAGE WEB ADDRESS"/][/a][/center][/textarea][/center]
What you need to do is change the web address to your blog address, change the blog title to your blog title, and put in the image web address of your button.
You can get the image address (direct link) by uploading your button to photobucket (its free), and copying the direct link. Paste it in all the places in the code where it says image web address.
Lastly, you need to change all the [] in the code to <>. It won't work if you don't do that. Be sure not to delete anything else in the code.
Copy your code in an HTML/JavaScript gadget on your layout page.
And you're done!
Hope this helped!
~Kathryn :)
Thanks Kathryn! :)
<3 Amber
Thanks a lot for the tutorial! That's really cool! I love Picmonkey! I use it to edit all my photos! :)
--Dani
AWESOME!! I have started using that to edit pictures. I awarded you at http://ramblingsofbetsy.blogspot.com/2012/11/awards.html#comment-form
Awesome, I should try to do that one time.
I nominated you on my blog for the Liebster Award.
God bless,
Rebekah
Post a Comment